Part 2
Part 1: Replace reeds on a harmonica just like you change strings on a guitar.
The procedure at a glance:
- Find a new reed.
- Remove the BAD reed and flatten the reed plate.
- Tap the plate to receive an M1.4 screw and flatten the plate.
- Put the reed in the slot and insert the screw all the way without tightening it.
- Use a reed wrench to position the rivet pad so that the reed is straight and centered. Tighten the screw.
- Snip off the other end of the screw with flush cut pliers and debur.
- Check the flatness of the plate.
- Adjust the reed shape and tuning.
___________________________________________
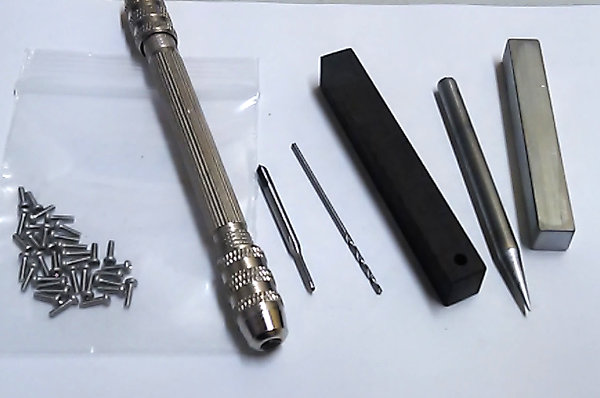
I offer a kit with all the specialty items you need to replace reeds on all brands of harmonicas.
___________________________________________
Here's how you replace reeds:
Find a new reed. You can use a new reed from the factory (contact Hohner or Seydel) or scavenge a reed from a donor plate.
Reed scavenging tip: The 4 Draw on a D harp is the same reed as 4 Blow on an E harp. Also, on Marine Band harmonicas the same reed is a 6 Draw on a G or the 6 Blow on an A.
The new or scavenged reed's rivet pad has a hole in it but it's too small to clear the screw we will use.
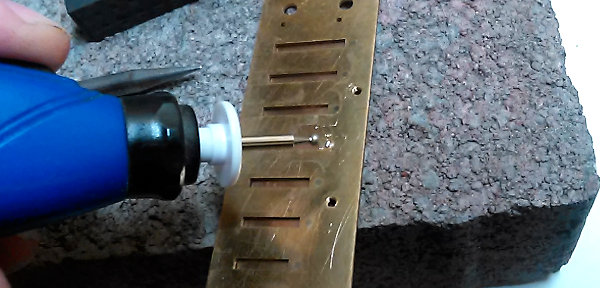
You can enlarge the hole using a rotary tool with a diamond tip reamer. This method works on Brass and Stainless reeds. See the video below.
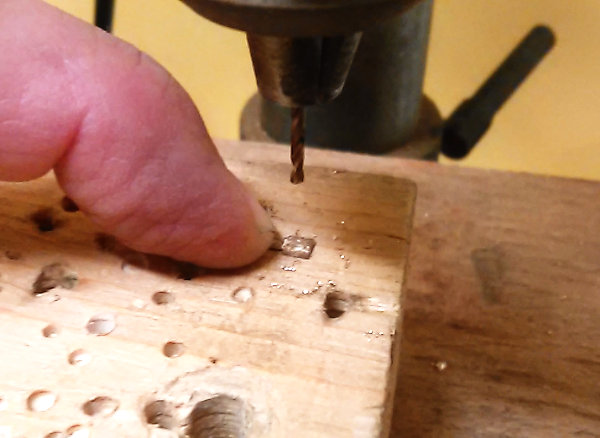
Alternatively, you can drill a 1/16" hole in the reed's rivet pad using a drill press. If you are working on a brass reed, you can do it by hand using a good quality drill bit and a pin vice. Hold the reed onto a wood block to drill.
Please note that Suzuki reeds do not have a rivet and you will need to make your own hole using a drill press. I do not recommend using a hand drill of a rotary tool for this.
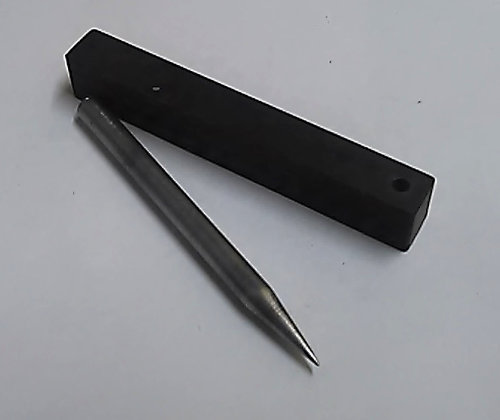
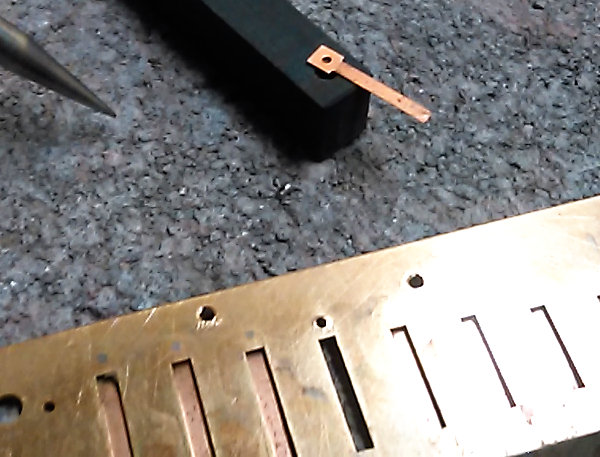
This is the reed replacement spine and removal pin. The spine is the foundation we will use to remove rivets and to flatten both the reed plate and the rivet pad. The removal pin is made of hardened and tempered steel.
Place the reed removal spine on the brick or anvil. You CANNOT place it straight on a table or counter - the table surface will absorb too much kinetic energy.
A brick or anvil will make sure all the force is directed to the reed removal spine. This is the best way to avoid bending the reed plate and wrecking your harmonica.
Question: "What kind of brick should I use?"
Answer: A heavy one.
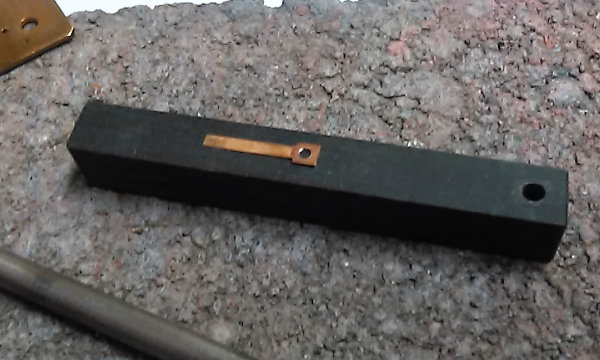
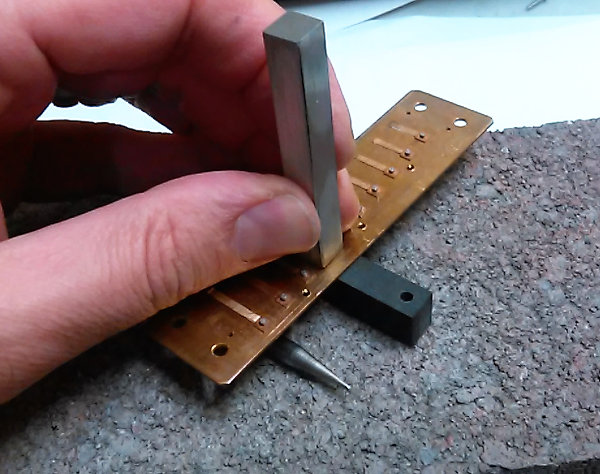
Place the reed on the flat part of the reed removal spine.
Position the flattening pin on top of the rivet pad and strike it with a hammer.
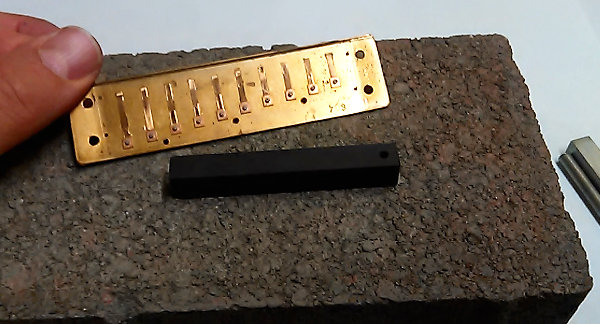
The new reed is ready to be installed.
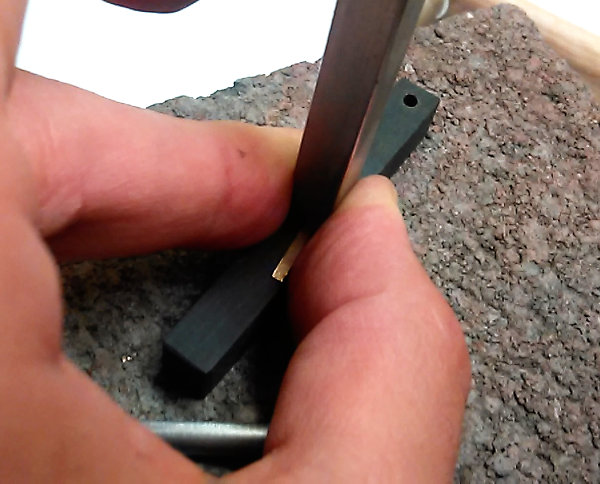
Remove the BAD reed. Position the rivet head upside down in the hole in the spine.

Hold the pin over the rivet tip and strike the pin straight down.
It's best to strike two or three times with light force so that you don't have to drive the pin any deeper than necessary.
The rivet should fall through the hole. Discard the old reed and rivet.
Flip the plate around and place the rivet hole over the solid part of the spine.
Place the flattening pin on top of the plate and strike it with the hammer to flatten.
The hole is now flat. This is essential for the reed to go in straight and be well positioned.
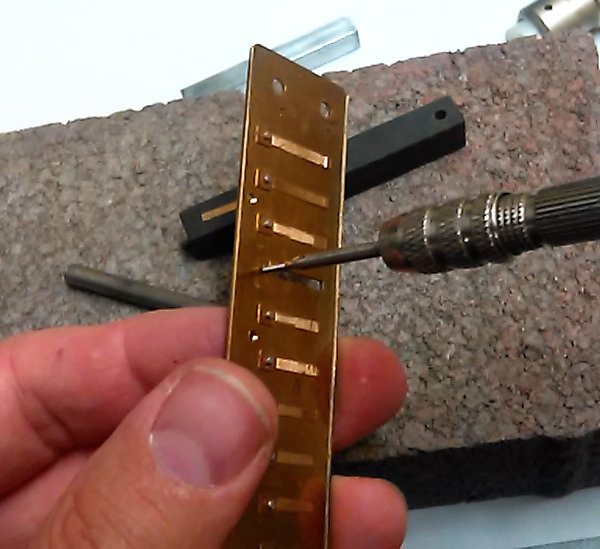
Dip the M1.4 tap in mineral oil and tap the rivet hole. The tap cuts the screw thread into the hole. I don't use self-tapping screws. Self-tapping screws aren't sharp and require more force - we don't want to bend or warp the reed plate. Tapping the hole is an extra step but it's the safest and most precise way to guarantee success.
Flatten the reed plate against the spine once again with the flattening pin.
Place your finger behind the empty slot.

Lay the GOOD reed in the slot. Let the tip of the reed touch your finger and the inside of the slot. Tucked away like that, it won't move around as you insert the screw.
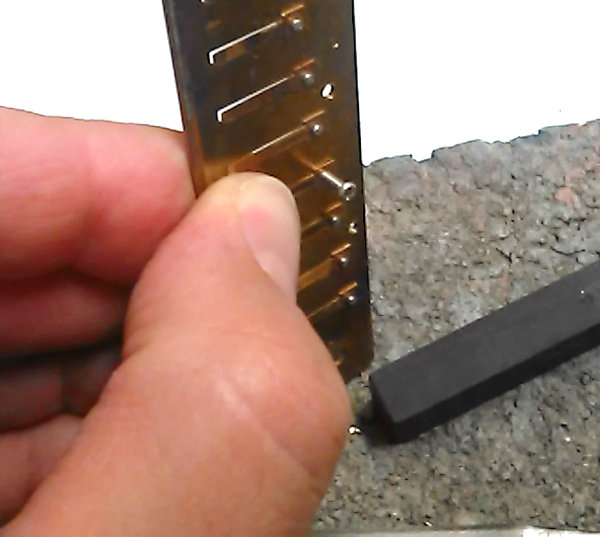
Pinch the reed and the slot and put the screw in.
Turn the screw until it's all the way in but not tight.
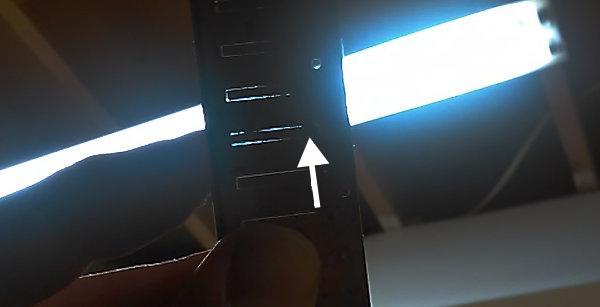
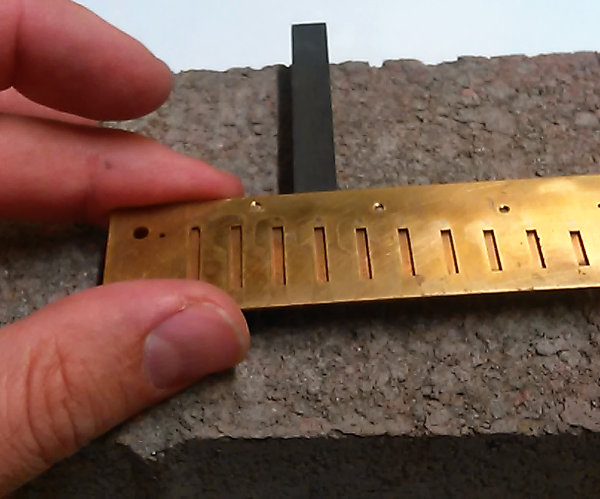
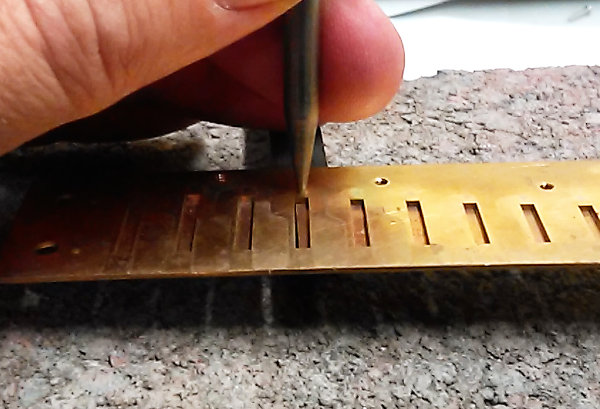
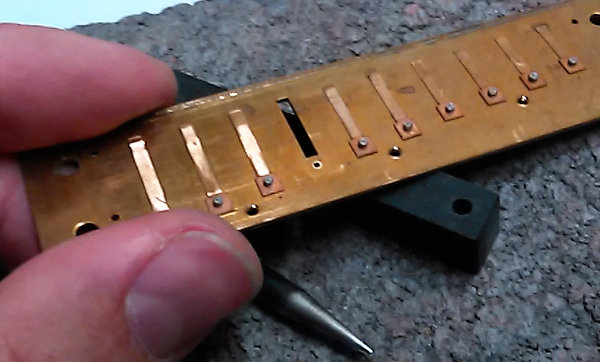
With the reed held in place loosely, hold the reed plate up to the light and look through the slot. Use a reed wrench to move the reed up, down, left or right as needed. Don't worry about rotation, just center the middle of the reed pad. Pinch it in place and tighten the screw.
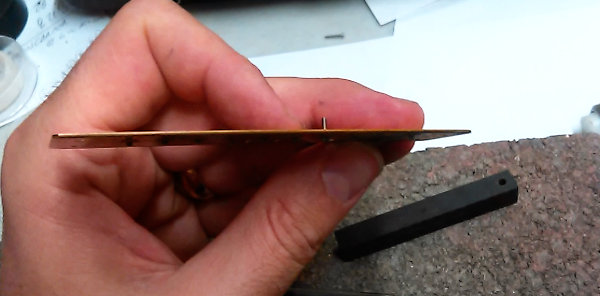
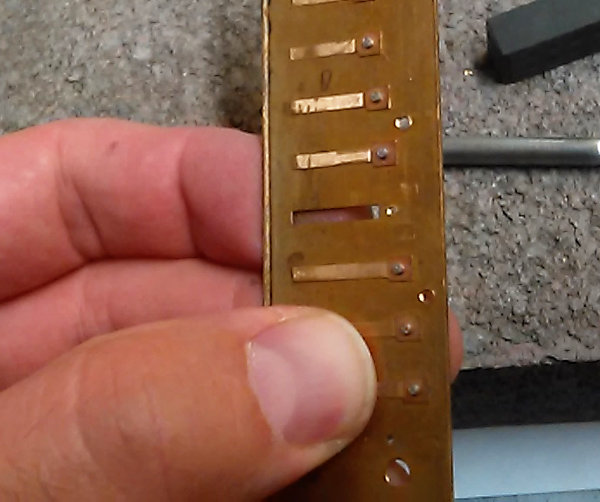
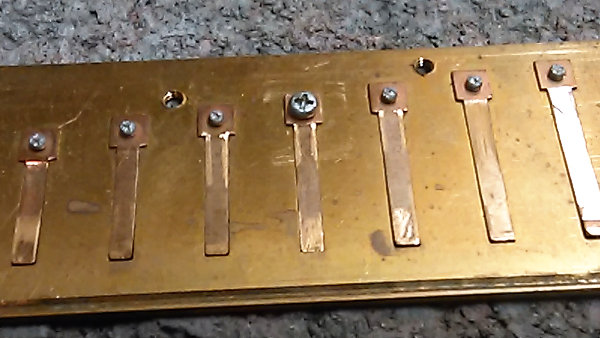
I use long screws because they are much easier to handle. The long end of the screw needs to be cut.
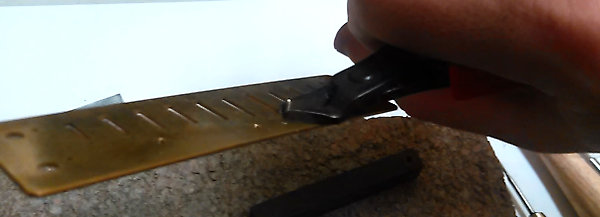
Use flush cut pliers to cut the end of the screw off.
Debur the end of the screw using sandpaper or an engraver.
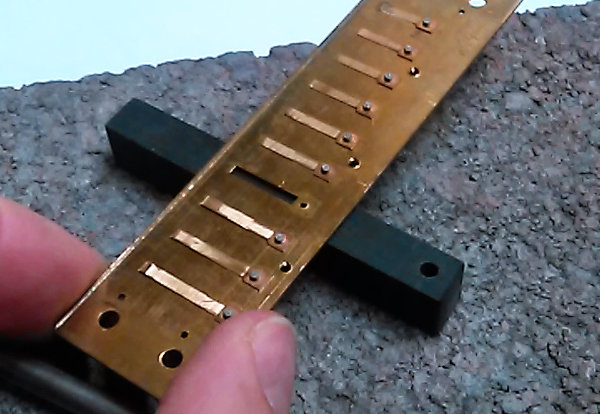
Tighten again and center the reed one last time. The reed should feel snug.
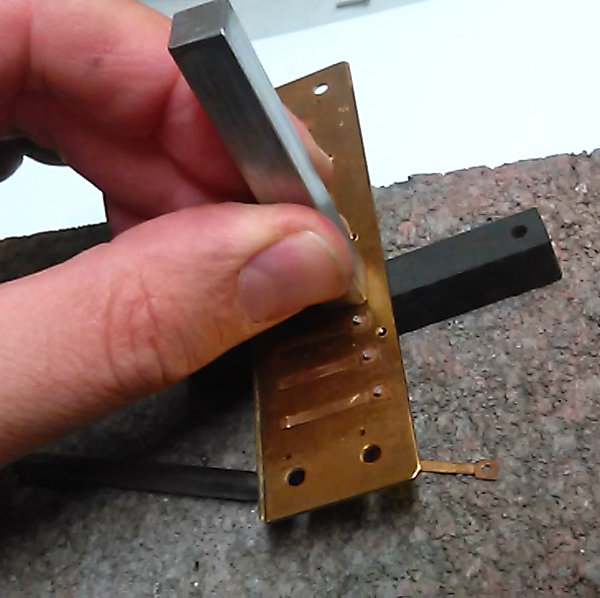
Use The F-Tool to straighten the reed plate as needed. Flatsand the draw plate to take care of the tip of the screw.
Check and adjust the reed shape. Try to make the reed straight when passing through the slot.
Look at the shape of the reed from the side. Focus your attention on the light you see through the slot as you push the reed down through the slot.

Change the shape of a reed by focusing pressure with a tool onto a specific spot. Use a finger to provide counter pressure from the other side of the reed. Plink the reed about ten times after every change you make to its shape.
When in doubt remember that if the tip of the reed is curved down and enters the slot before the rest of the reed, you will not (never, ever) get a good result.
See this reed work reference.
Tune the reed using this method: Tuning page
_______________________________________
Got into trouble?
Problem: There is no way I can align the reed!
Solution: Enlarge the clearance hole in the rivet pad. Use a 5/64" bit or even a 3/32" bit. Flatten the pad.
Problem: I stripped the thread!
Solution: Use a larger screw. Tap the hole with a larger tap. Use M1.6. You can also step it up to M2. On the blow plate, you can use a screw and a nut, too.
_______________________________________
Updated Reed Replacement kit (2015/12/20):
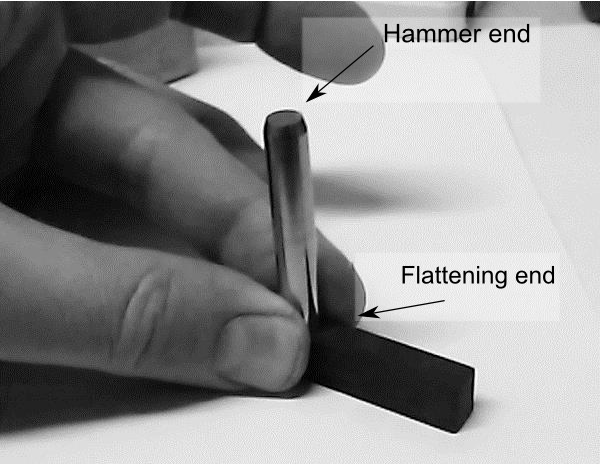
New Flattening Pin Design: The square flattening pin shown in the instructions has been replaced with a round pin with two different ends.
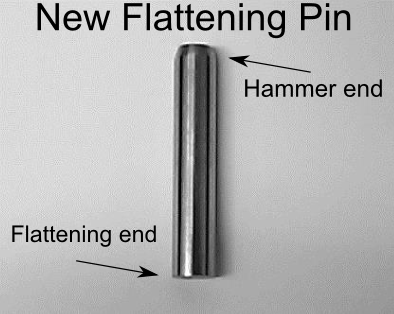
One end is to be used to flatten reeds and reed plates and the other is struck with the hammer. The flattening end has been hardened and tempered.