Producing CNC milled combs revealed!
I design my combs myself and produce them using my CNC mill. Here's a breakdown of the process.
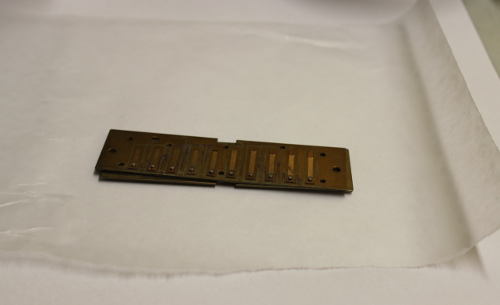
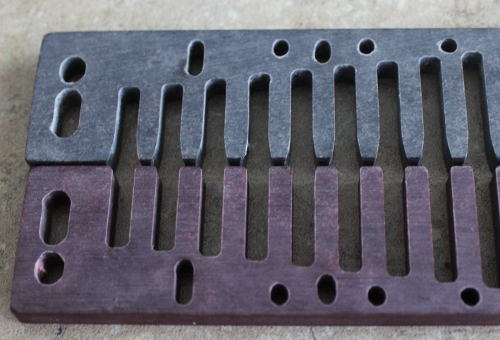
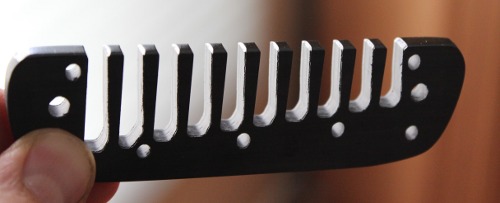
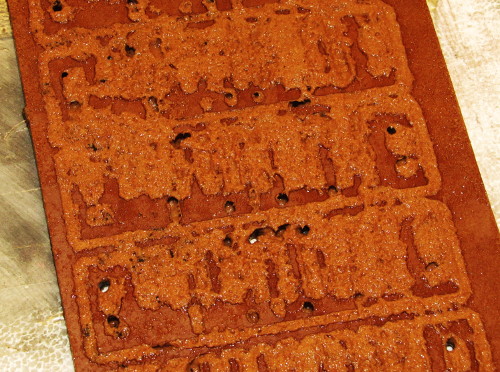
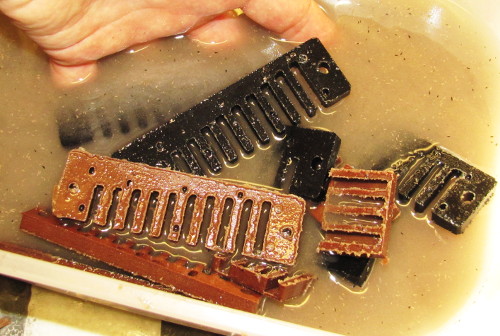
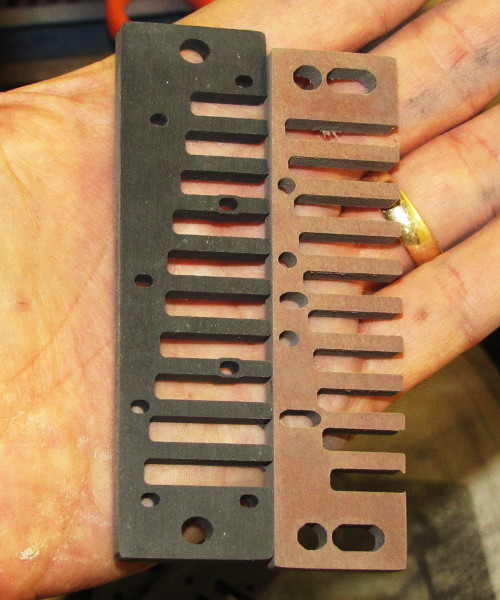
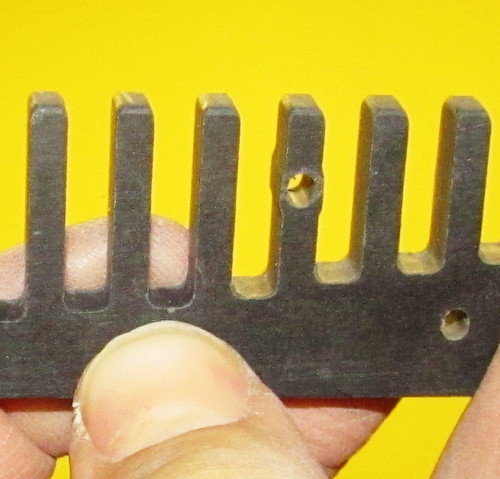
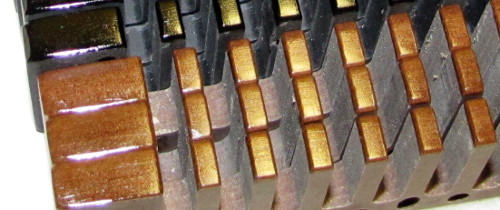
The combs are cut. Water is sprayed on the surface as the mill works to cool the bit as it cuts. Keeping the temperature down helps keep the bit sharp and prevents the finished comb from giving off a strong smell. Fresh off the mill, the combs look a little rough....
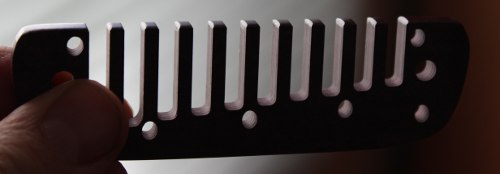
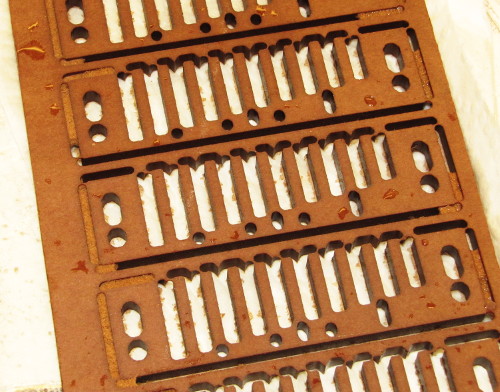
After a quick rinse....
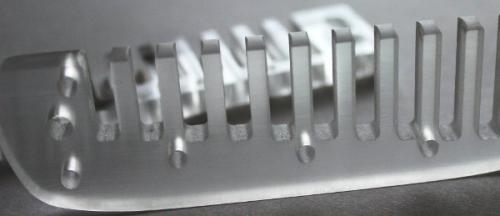
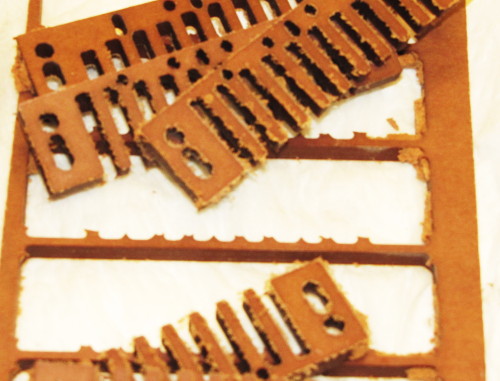
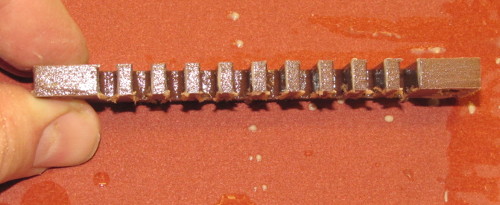
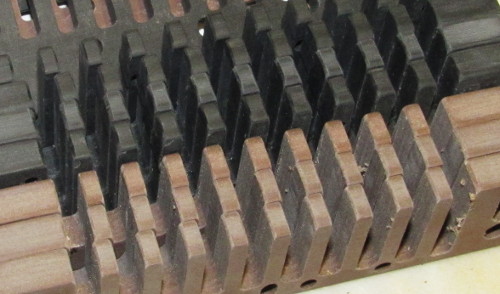
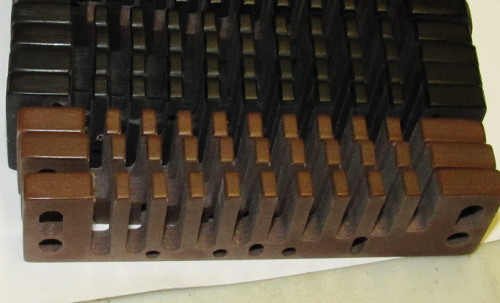
Each comb is held in place with support bridges. Here, I have cut them free.
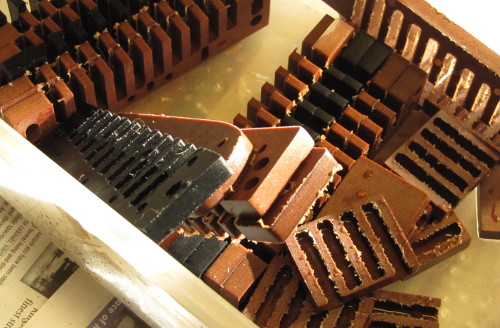
Then wash away the debris.
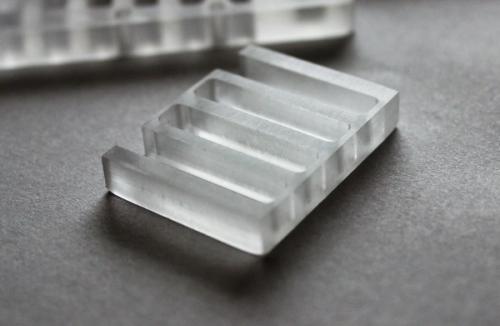
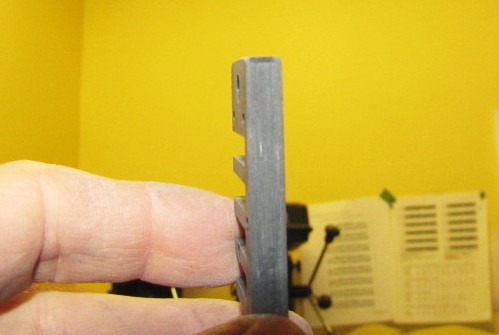
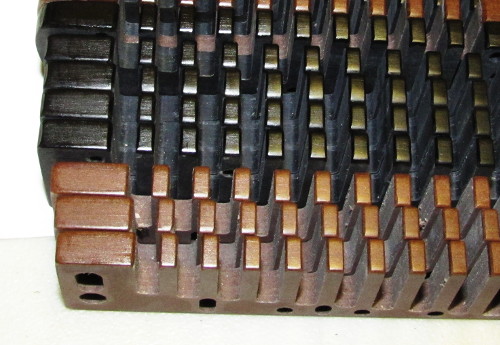
The rough combs need to be sanded polished and flattened. I first start working on the outer edges and tips of the tines.
Here the outer edges and tines are smooth.
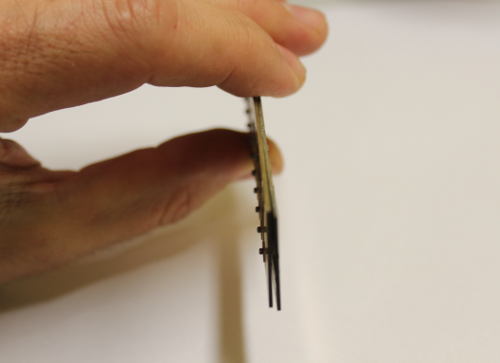
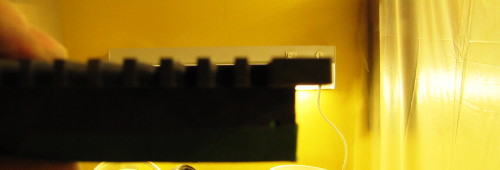
Next, I flatten the top and bottom sides. I check for flatness using a reference. This comb is not flat and needs to be fixed.
After a little work, it's flat.
At this point, the combs are starting to look nice.
Next, I round off every edge. The front (tines, viewed from the side) is rounded.
...and the corners...
Next, I painstakingly work on the inside of every tine. I make sure each one is shaped for comfort.

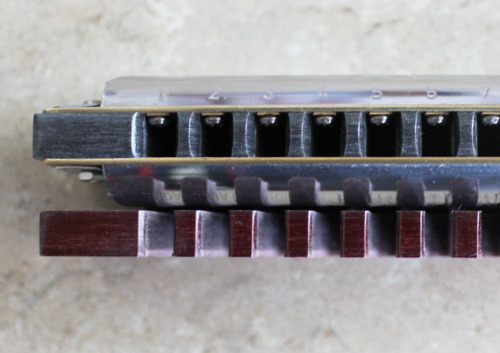
These tines are comfortable on your tongue.
I start the process of lacquering the tips of the tines. I apply many thin coats instead of only a few thick coats. I do this to ensure the lacquer doesn't chip or crack. My aim is that they last a lifetime.
This is after one coat.
After several coats...
If it's dry and it looks wet, it's done!
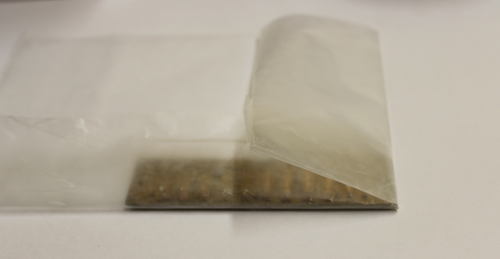
Next, I polish the sides and back of the comb. The last step is to flatten the comb one last time to ensure it's going to deliver peak performance.
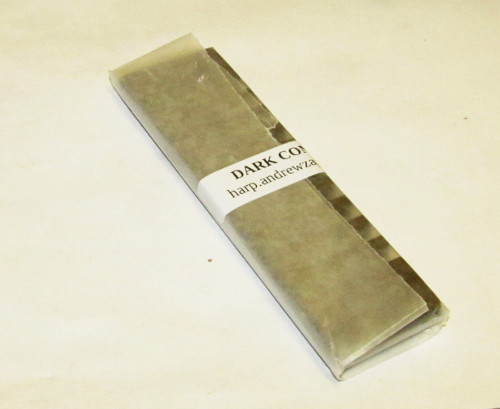
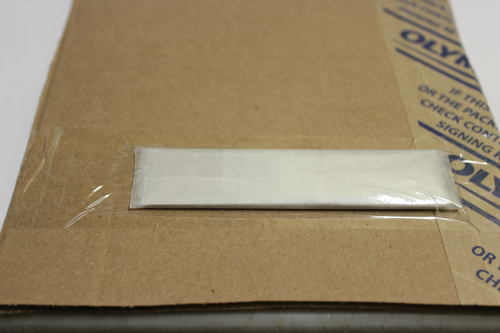
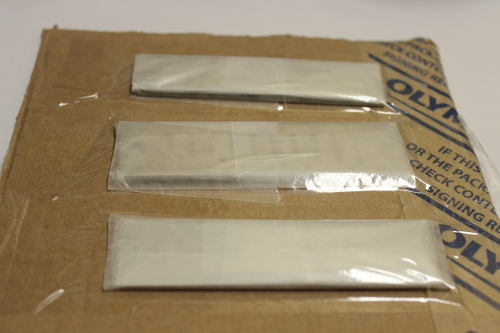
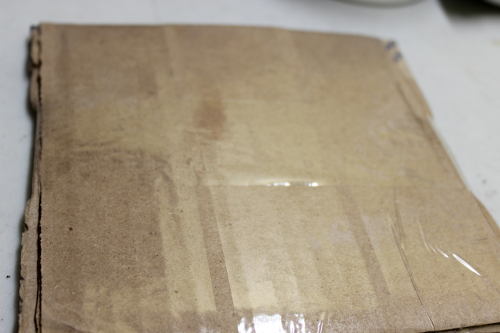
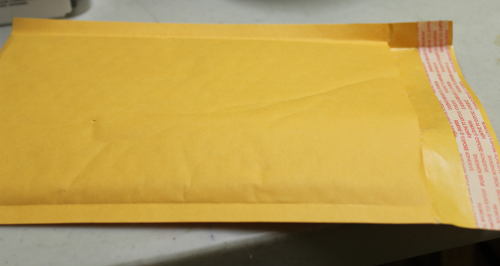
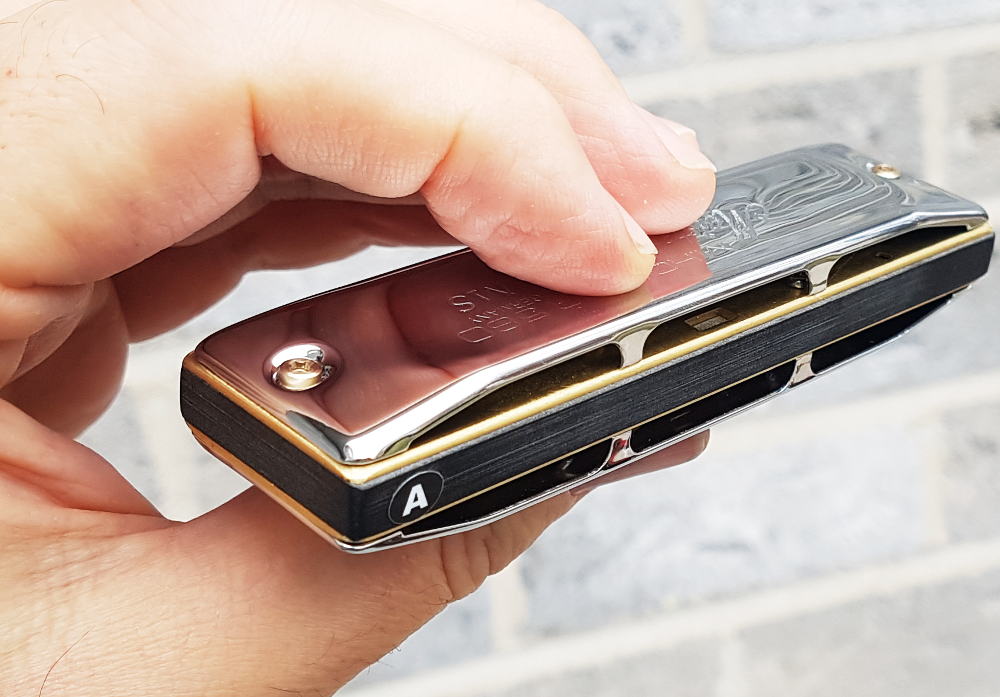
Combs get wrapped up immediately and are ready to be shipped.